
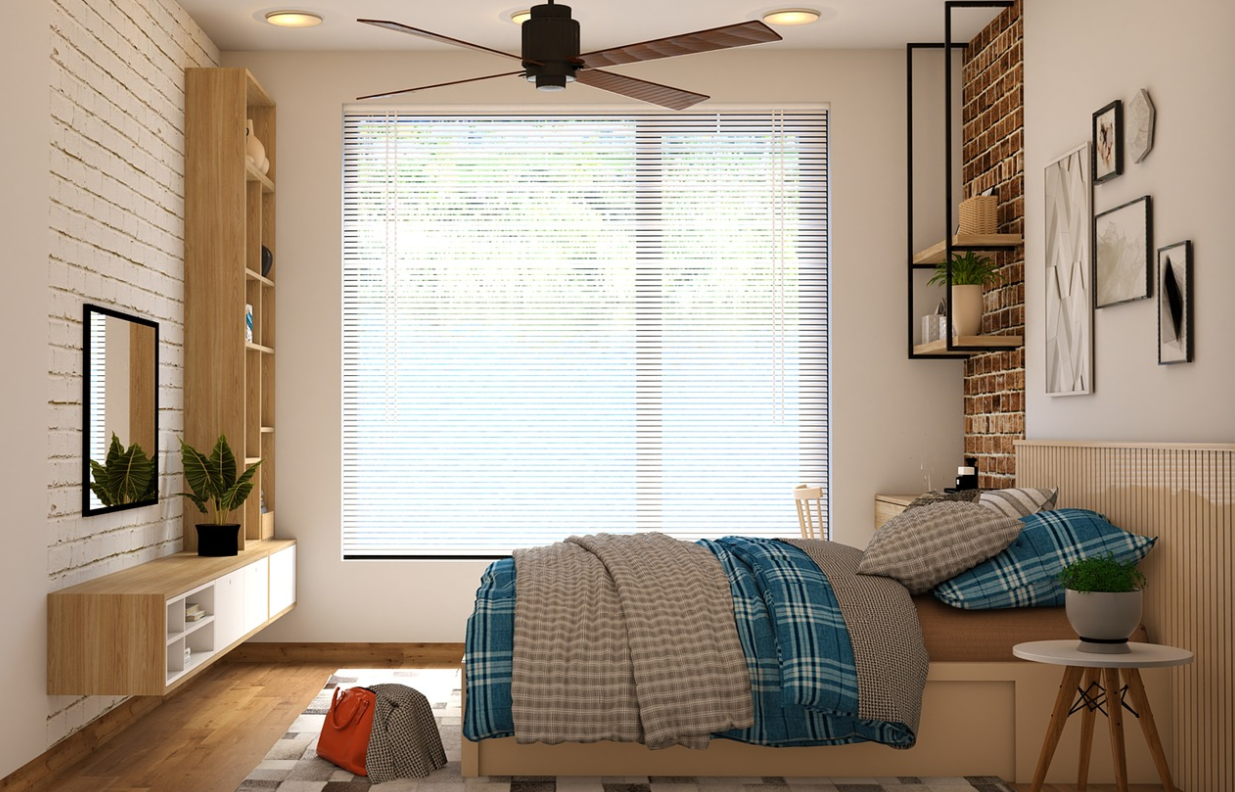
Installing a ceiling fan with light can be a daunting task, but with the right equipment and a systematic approach, it is a task that many skilled men and women can accomplish. It starts with the practice of lifting the ceiling fan to a location where there are electrical wires. Besides, you will need to prepare some tools. After that, it would be better to learn further about the step-by-step installation process and highlights to eliminate some mistakes. Therefore, you could install the fan correctly. It is beneficial to learn more here if you plan to do this at home.

Check the Fan Package
The first thing to do is to check that you have all areas of the ceiling fan. Pull everything out and look at the parts list provided by the manufacturer. Make sure that all items are present. If not, return the box and find a second one by making a list before taking it to the store. Make sure the case contains all the items you need to prepare the ceiling fan.
Install a Mounting Plate
 It will give you a stable mounting surface on drywalls. Wood ceilings may be strong enough to support the fan weight, depending on the wood thickness. You need to turn off the power at the mounting location. Also, it is crucial to turn off the circuit breaker on the switch. If you are installing the Enthusiast where there is a circuit breaker, remove the existing fixture. Then, drill the holes for about half the diameter of the width of the threads. Mount the panel assembly so that all the electrical wires go into the center hole, and thread them through each large mounting screw. Thus, you could start the next step.
Mount the Motor
If you are doing a flush mount, you need to attach the cap/cover directly to the enthusiast motor with the screws and avoid steps 1 through 4. If you are not doing a flush mount, run the down-rod through the cutout in the canopy/bridge. Then, connect the electrical wires from the motor to the canopy and down-rod. Loosen the set-screws on the top of the instrument where the lowering rod attaches.
 Next, you should rotate the ball that fits into the slot in the canopy. It will allow it to lock into place. Press the tab into the machine slot if there is one available. (If there is not, you will need a helper to hold the fan motor). If necessary, cut the electrical wires coming out of the ceiling to protrude 2 to 3 inches. Connect the black electrical wire to the black wire in the house and connect the white to the white. The green wire is on the floor. Make sure all connections are in order. If you want, you can add an electrical spike to the tabs where the wire runs.
Assemble the Fan
Twist the excess wire to fit inside the canopy, then attach the cover to the ceiling bracket. Tighten the screws located on the additional screws that can secure the ribbon link to the ceiling bracket. Unscrew the plastic transport guards located at the fan blade attachment point on the underside of the motor. Save the screws and discard the shipping guards. Therefore, you could start constructing the fan and attach the light to the below part. Also, attach the switch chains to the chains that protrude from under the fan motor and light.
Inspect the Installation Process
After the installation process, it is crucial to perform an inspection of the fan. You might need to check all brackets and screws to make sure they are tight. If it is swaying too much, it would be best to check all the screws in the blades. Many ceiling fans come with lights by installing the retrofit kits. It means that you will need to ensure everything is on. Therefore, you won’t encounter some issues later.